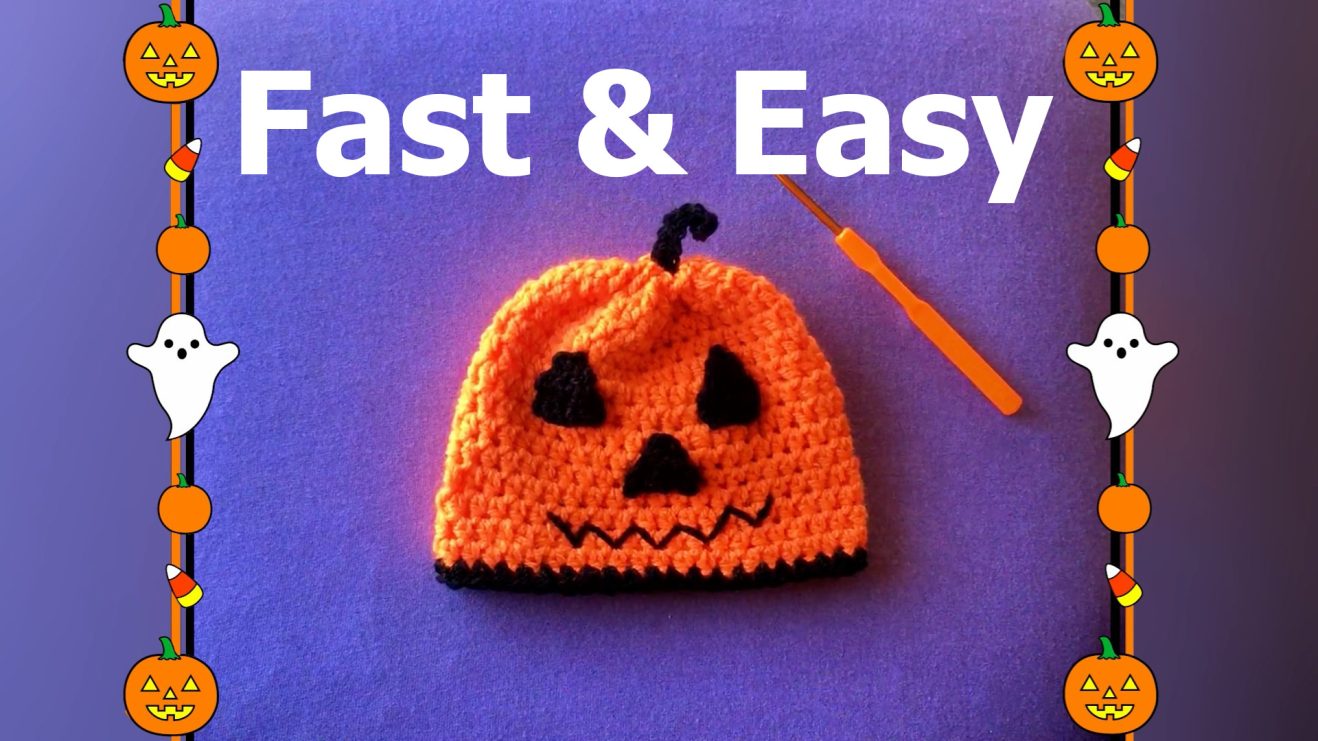
This cute pumpkin hat is the perfect Halloween accessory and makes a great gift! The best part? There’s no need to count stitches or rows! Follow these simple steps to create your own pumpkin hat.
Materials:
- Orange yarn (cotton or acrylic, size suitable for your project)
- Black yarn (for edging, eyes, nose, and stem)
- Green yarn (optional, for the stem)
- Crochet hook (5.0mm to 6.0mm, depending on your yarn)
- Scissors
- Yarn needle
Instructions:
0. Starting the Base of the Hat:
- Begin with the orange yarn, leaving a long tail of around 6-7 inches (the length of your hand from wrist to fingertip). You will use this tail later to sew the top of the hat.
- Make a slipknot and insert your crochet hook.
- Pull the working yarn through the loop on the hook to secure your starting point.
1. Create the Foundation Chain:
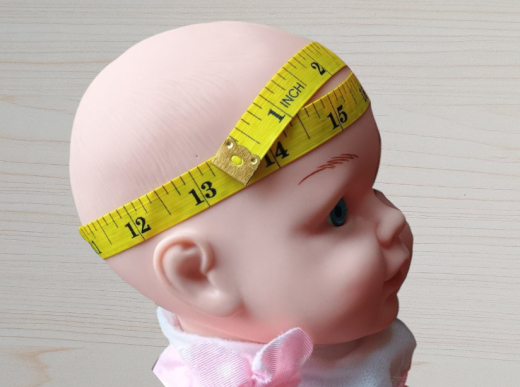
- Crochet a chain long enough to fit around the recipient’s head. Measure the chain by wrapping it around the head for which the hat is intended. Make sure the chain is not too tight; it should fit comfortably.
2. Join the Chain:
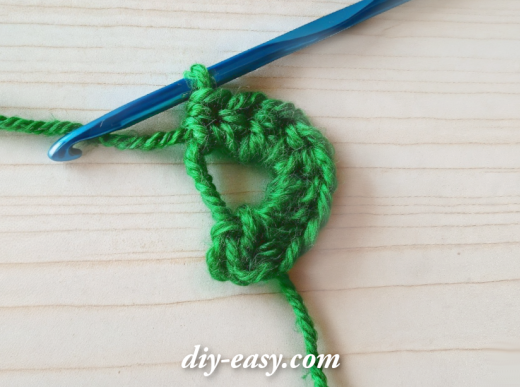
- Once your chain reaches the desired length, join it into a circle with a slip stitch. Insert the hook into the first chain stitch and pull the yarn through both loops on the hook to close the loop.
3. Start Working in the Round:
- To transition smoothly into the next round:
- Crochet 3 slip stitches for a smooth rise.
- Work 3 single crochet stitches (SC).
- Now continue working half-double crochet (HDC) stitches all the way around in a spiral pattern. This means there’s no need to join rounds; just keep crocheting continuously.
- Continue crocheting in this spiral until the hat reaches the desired height to comfortably cover the head.
4. Closing the Spiral:
- Once you’ve reached the desired height:
- Work 3 single crochet stitches.
- Finish with 3 slip stitches to close the round neatly.
- Fasten off the orange yarn, leaving a short tail for weaving in later.
5. Sewing the Top of the Hat:
- Now, take the long tail of yarn you left at the beginning of your work (Step 0).
- Using your yarn needle, stitch along the edge of the foundation chain at the top of the hat. You can do this by making simple running stitches all the way around the opening.
- Once you’ve stitched around the entire edge, gently pull the yarn to cinch the top closed. This will create a beautiful gathered effect, similar to the base of a pumpkin stem.
- After gathering, securely sew the top shut, and weave in any remaining yarn.
6. Adding the Black Edging:
- Go back a few stitches from where you finished off the orange yarn.
- Insert the hook into one of the hat’s stitches, pull the black yarn through, and secure it with a slip stitch.
- Crochet single crochet stitches all around the bottom edge of the hat to create a neat black border.
- Join the last stitch with a slip stitch, fasten off the black yarn, and weave in the ends.
7. Making the Eyes and Nose:
- Using the black yarn, create a chain for each feature:
- For Babies (0-10 months): Chain 6.
- For Children (1-10 years): Chain 7.
- For Teens and Adults: Chain 8.
- Work single crochet stitches back across the chain, decreasing one stitch at the end of each row (this means you will work one less stitch in each row) until you are left with just one stitch.
- Fasten off and leave a tail for sewing.
- Make two pieces for the eyes and one for the nose.
- Attach these pieces to the front of the hat using your yarn needle and the yarn tails.
8. Creating the Stem (Optional):
- Using either black or green yarn:
- For Babies (0-10 months): Chain 7.
- For Children (1-10 years): Chain 8.
- For Teens and Adults: Chain 9.
- Work a row of single crochet stitches across the chain.
- Fasten off, leaving a tail, and sew the stem to the top center of the hat.
9. Adding the Mouth:
- With black yarn, stitch a zigzag pattern across the front of the hat to represent the pumpkin’s mouth. This can be done using a simple backstitch technique with your yarn needle.
Finishing Touches:
- Weave in any loose ends using your yarn needle.
- Adjust the fit of the hat if needed by gently stretching or blocking the fabric.
You’re done!
This project is quick, fun, and perfect for Halloween or a quirky winter hat. It makes for a thoughtful and unique gift, and it’s a great way to experiment with your crochet skills!
Share Your Creations!
I’d love to see your finished pumpkin hats! Please feel free to share your pictures with me – it’s always exciting to see what my crafty readers create.
You are welcome to sell any items made from my pattern. All I ask is that you include a link to my blog on your sales page: https://diy-easy.com/. Please do not reproduce or sell the pattern itself.
Happy Crafting and Happy Halloween!


