I found this beautiful tutorial for a baby hoodie that I just had to share with you today. There’s something so special about creating tiny garments for the little ones in our lives—each stitch feels like a hug you can wrap them in. The full visual walkthrough is available in the video by Simona Crochet, and I’ll be your companion guide through the highlights of this delightful project.
Friends, this “Goosebumps” hoodie pattern is one I couldn’t wait to try. The name alone makes me smile, and once you see the texture, you’ll understand exactly why.
The Goosebumps Baby Hoodie
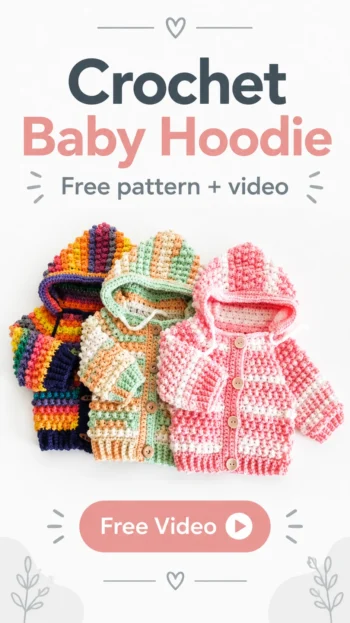
Picture a tiny hooded cardigan with the most incredible texture—a raised, bumpy surface that lives up to its playful name. The “cobble stitch” creates a fabric that looks almost like small pebbles or goosebumps nestled together in perfect rows. It’s the kind of texture that begs to be touched, soft yet dimensional, with a wonderful squish and bounce that babies will love against their skin.
This little hoodie is worked from the top down, beginning with a yoke that forms the shoulders and chest before separating into the body and sleeves. The hood is added afterward, creating that snug, cozy cocoon feeling that makes these garments so precious. The tutorial shows a drawstring detail at the hood opening—those little ropes you can pull to close it tighter around a tiny face—which adds both function and charm.
While the video demonstrates this in a solid aqua color to make the stitch pattern easy to follow, imagine the possibilities. A soft sage with cream trim would be beautifully gender-neutral, while dusty rose with ivory buttons feels sweetly traditional. For something more playful, consider a gradient from pale yellow to warm gold, or classic navy and white for timeless appeal. The textured stitch works beautifully in solid colors, but a gentle variegated yarn could create a subtle, watercolor-like effect.
Materials and Tools
The tutorial uses a DK weight yarn—approximately 300 meters per 100 grams—with a 4 mm hook, which creates a soft, drapey fabric perfect for baby garments. Simona recommends light worsted weight options like Stylecraft Special DK or similar yarns around 300-360 meters per 100 grams. You’ll need roughly two skeins (about 150 grams) for smaller sizes, with a bit more for larger ones. For a comparable fabric, I’d suggest looking for a soft acrylic or cotton-blend DK weight, which will be gentle against delicate skin and easy to care for. Beyond yarn and hook, the tutorial uses at least six stitch markers (more if you plan additional shaping), a measuring tape, four to five buttons depending on size, and a tapestry needle for seaming and weaving in ends.
Stitch by Stitch
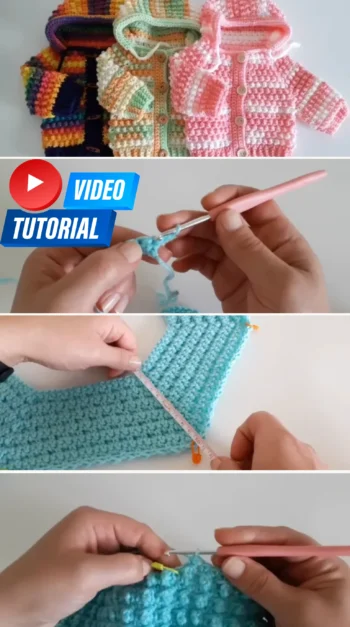
The tutorial builds this hoodie using a small repertoire of stitches that create big visual impact:
-
SC (single crochet) – This is your foundational stitch, used for solid rows between the textured sections and for creating the button bands and ribbing.
-
TR (treble crochet) – Worked twice around the hook to create those tall, elongated stitches that form the “goosebumps” when paired with single crochet.
-
The Cobble Stitch – A simple two-stitch repeat alternating single crochet and treble crochet, creating the signature bumpy texture that gives this hoodie its personality.
-
Slip stitch – Used for joining rounds and creating the neat, structured ribbing at the cuffs and bottom edge.
-
Chain and turn – Essential for creating corners in the yoke and transitioning between rows.
There’s a meditative rhythm to this work—the alternating short and tall stitches become almost hypnotic, and watching that texture grow row by row is deeply satisfying.
Construction
This hoodie is worked from the top down, beginning with a foundation chain measured against the baby’s head circumference minus about three centimeters for a snug fit. The first row establishes the yoke with single crochets and corner spaces created by working single crochet, chain two, single crochet into the same stitch. These four corners create the front panels, back panel, and sleeves simultaneously.
The yoke grows through a four-row repeat until it reaches the desired depth (around ten and a half centimeters for the smallest size). Then, the front and back panels are joined under the arms with a few chains, creating the armholes. The body continues in the textured pattern until reaching the desired length, finishing with a single crochet row before adding vertical ribbing at the bottom.
The sleeves are worked in the round, maintaining a consistent stitch count throughout. After the hood is sewn together at the top and the button band and buttonholes are added along the front edges, the hood ribbing is created with four rows of half double crochet, and a slip-stitched drawstring is threaded through. Follow the full video tutorial for exact counts and complete pattern details.
Beginner Tips
Measure twice, chain once. The foundation chain length is crucial—it determines your entire fit. The tutorial shows measuring your starting chain against a tape measure, then adjusting up to the next size if it’s too short. Don’t skip this step.
Keep track of your stitch count. Especially when working the sleeves in the round, counting your stitches at the end of each single crochet row ensures you haven’t accidentally added or dropped stitches. The instructor recommends checking for an even number before beginning the ribbing.
Embrace the corner markers. Those stitch markers at the four yoke corners are your best friends. They tell you exactly where to work your corners and help you maintain the correct shape as the yoke grows. Move them up as you work each row.
Using Your Goosebumps Hoodie
This little hoodie is perfect for everyday wear—snuggly enough for cooler mornings, yet sweet enough for special occasions. Layer it over a simple onesie for an easy outfit, or pair it with tiny jeans for a more put-together look. The textured fabric adds visual interest without being fussy, and the hood provides that extra touch of cozy charm. It would make a treasured baby shower gift or a heartfelt handmade heirloom for your own little one.
Keeping Your Goosebumps Hoodie Soft and Snuggly
To keep this textured hoodie looking its best, hand wash in cool water with a gentle detergent, or use your machine’s delicate cycle in a mesh bag. Avoid wringing or twisting—gently squeeze out excess water instead. Lay flat to dry, reshaping the hood and button bands as it dries. Store folded rather than hung to maintain the shape of the yoke and prevent stretching. The cobble stitch texture benefits from a gentle blocking to keep those “goosebumps” looking plump and defined.
Closing: A Personal Invitation
There’s something profoundly meaningful about creating tiny garments by hand—each stitch carries intention, each row builds not just fabric but comfort and warmth for someone small and beloved. These projects remind us that handmade isn’t just about the finished object; it’s about the time, care, and love woven into every detail.
If you enjoyed this project, take a look at my other free crochet patterns:
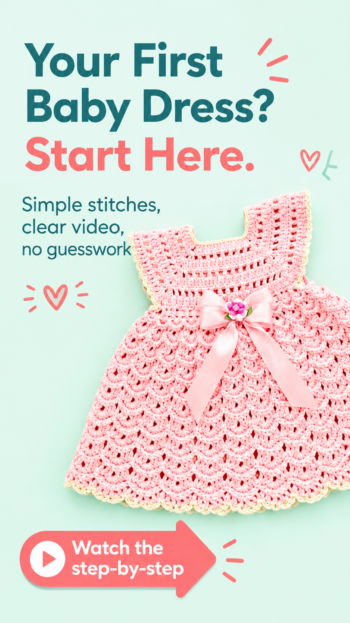
Crochet Baby Dress: A Dreamy Heirloom for Little Ones
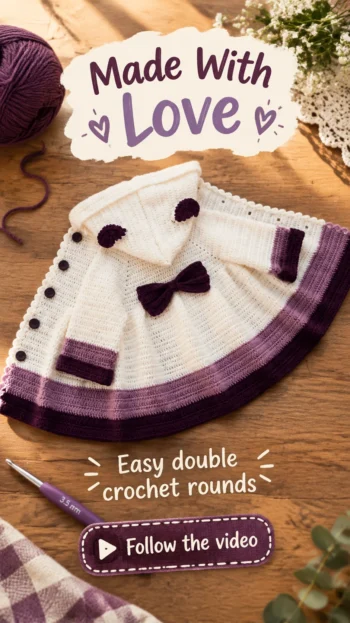
Crochet Girl’s Coat: A Cozy Little Heirloom
Crochet Baby Shoes: A Sweet Keepsake for Tiny Feet
And if you’re just starting out, visit the Guides section, where I’ve collected helpful articles about crochet basics and techniques:
Crochet Tips, Tricks, and Techniques: Essential Tips for Crocheters
Beginner’s Guide to Crochet: Basic Crochet Techniques
6 Basic Stitches in Crochet, Crochet Stitches Guide (Beginner Level)
Save this baby hoodie to your Pinterest crochet board so you can come back to it whenever you are ready to start.
Follow us on Pinterest and subscribe to the Newsletter so you don’t miss a thing!
Tutorial and photos of this baby hoodie by: Simona Crochet.